My Raised Garden Bed
|
After an initial attempt at building our first raised garden bed, we realized that we had put our newly constructed box in the wrong spot. There was simply not going to be enough sunlight available, so we had to re think not only our placement, but also our design. While looking around our backyard we could see that there were a couple of options, but it meant quite a bit of work to develop the location. In the video on the Garden Project Page you can see the initial box design we wanted to use. We wanted something that would tie into our deck and also give us easy access with its height. In choosing our new location those initial design features had to change.
One of the major changes came in cutting the box in half. The original design was 600mm high, but slicing it through the middle meant we were left with two identical boxes 300mm high, more than enough depth for a decent garden bed. The bonus was that we doubled the amount of area available to plant. Instead of 3.6 sqm, we now have 7.2 sqm. |
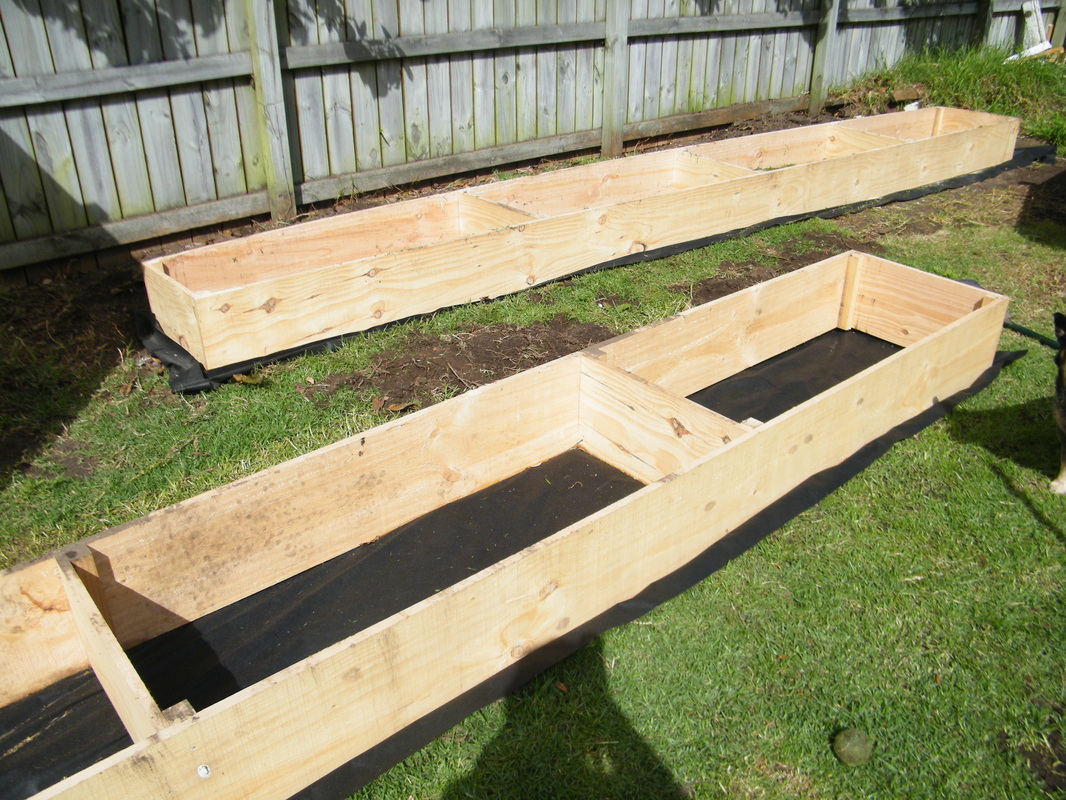
Two Raised Garden Beds
|
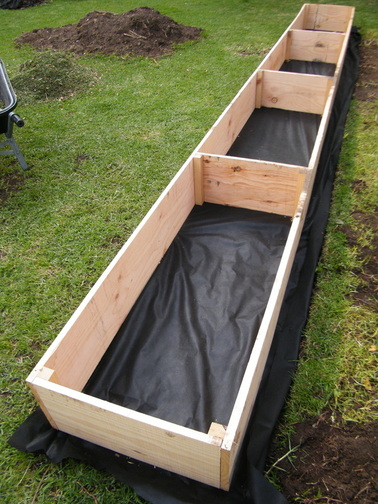
Weed Mat under the Garden Beds
|
PreparationKnowing how important sunlight is to a successful veggie garden, we had to choose a location with that ingredient as the priority. I am always trying to find ways to either do the least amount of work for the best results OR, if I have to put out the energy, to do something only once! Having to do something twice irritates me no end. So with sunlight in mind, choosing a location meant that I had to also take into consideration things like access to an exterior water tap, proximity to my compost heap and how I was going to keep the area tidy. Getting access for the weed eater and the lawn mower was high on the list.
One of the things I decided to do was put down a layer of weed mat before filling the boxes. Our lawn is made up of a really aggressive grass called Kikuyu. That stuff, along with cockroaches would I am sure survive a nuclear blast. It gets everywhere, and the last thing I wanted was a garden bed full it. So before laying down the weed mat, I went to the trouble of shaving off the top 75mm of grass and dirt. I have heard of people laying in newspaper to prevent weed growth, but my logic told me that eventually newspaper would compost away and the Kikuyu would let loose. The roll I bought was 1m wide. This will give me enough extra width to be able to use when I eventually ‘trim’ the edge of the boxes. I will tuck it under this boarder which will act as a bit of a barrier that I can bump up against when it comes to use the weed eater. |
|
Once the weed mat was down it was time to fill the boxes. Being a bit of a woodworker meant that I had access to a bunch of non treated pine wood shavings. I usually dump them in the bin, but this time decided to use them as my first layer. After that I quickly mowed my lawns and spread that into the beds. Next on the list was soil.
Now although I have a truck load of compost, I don’t have a lot of basic soil to use in these beds. I used up some from around the yard as a result of some general tidying and landscaping, but I know I am going to be short. My only option is my compost heap. From my reading I know its not the best option, but I refuse to pay any more money than I need to. After all, its about trying to save money, not spend it, especially on dirt! I am not quite done yet filling the boxes so there is not very much more to see. As I get the time, I will update... Cheers, Greg. 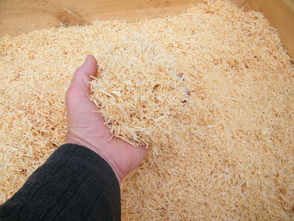
Pine Wood Shavings
|

Garden Bed Layers
|
© Copyright 2012 - All rights reserved